System Level ROScube Pico Flashing Image
1. Set ROScube Pico into recovery mode
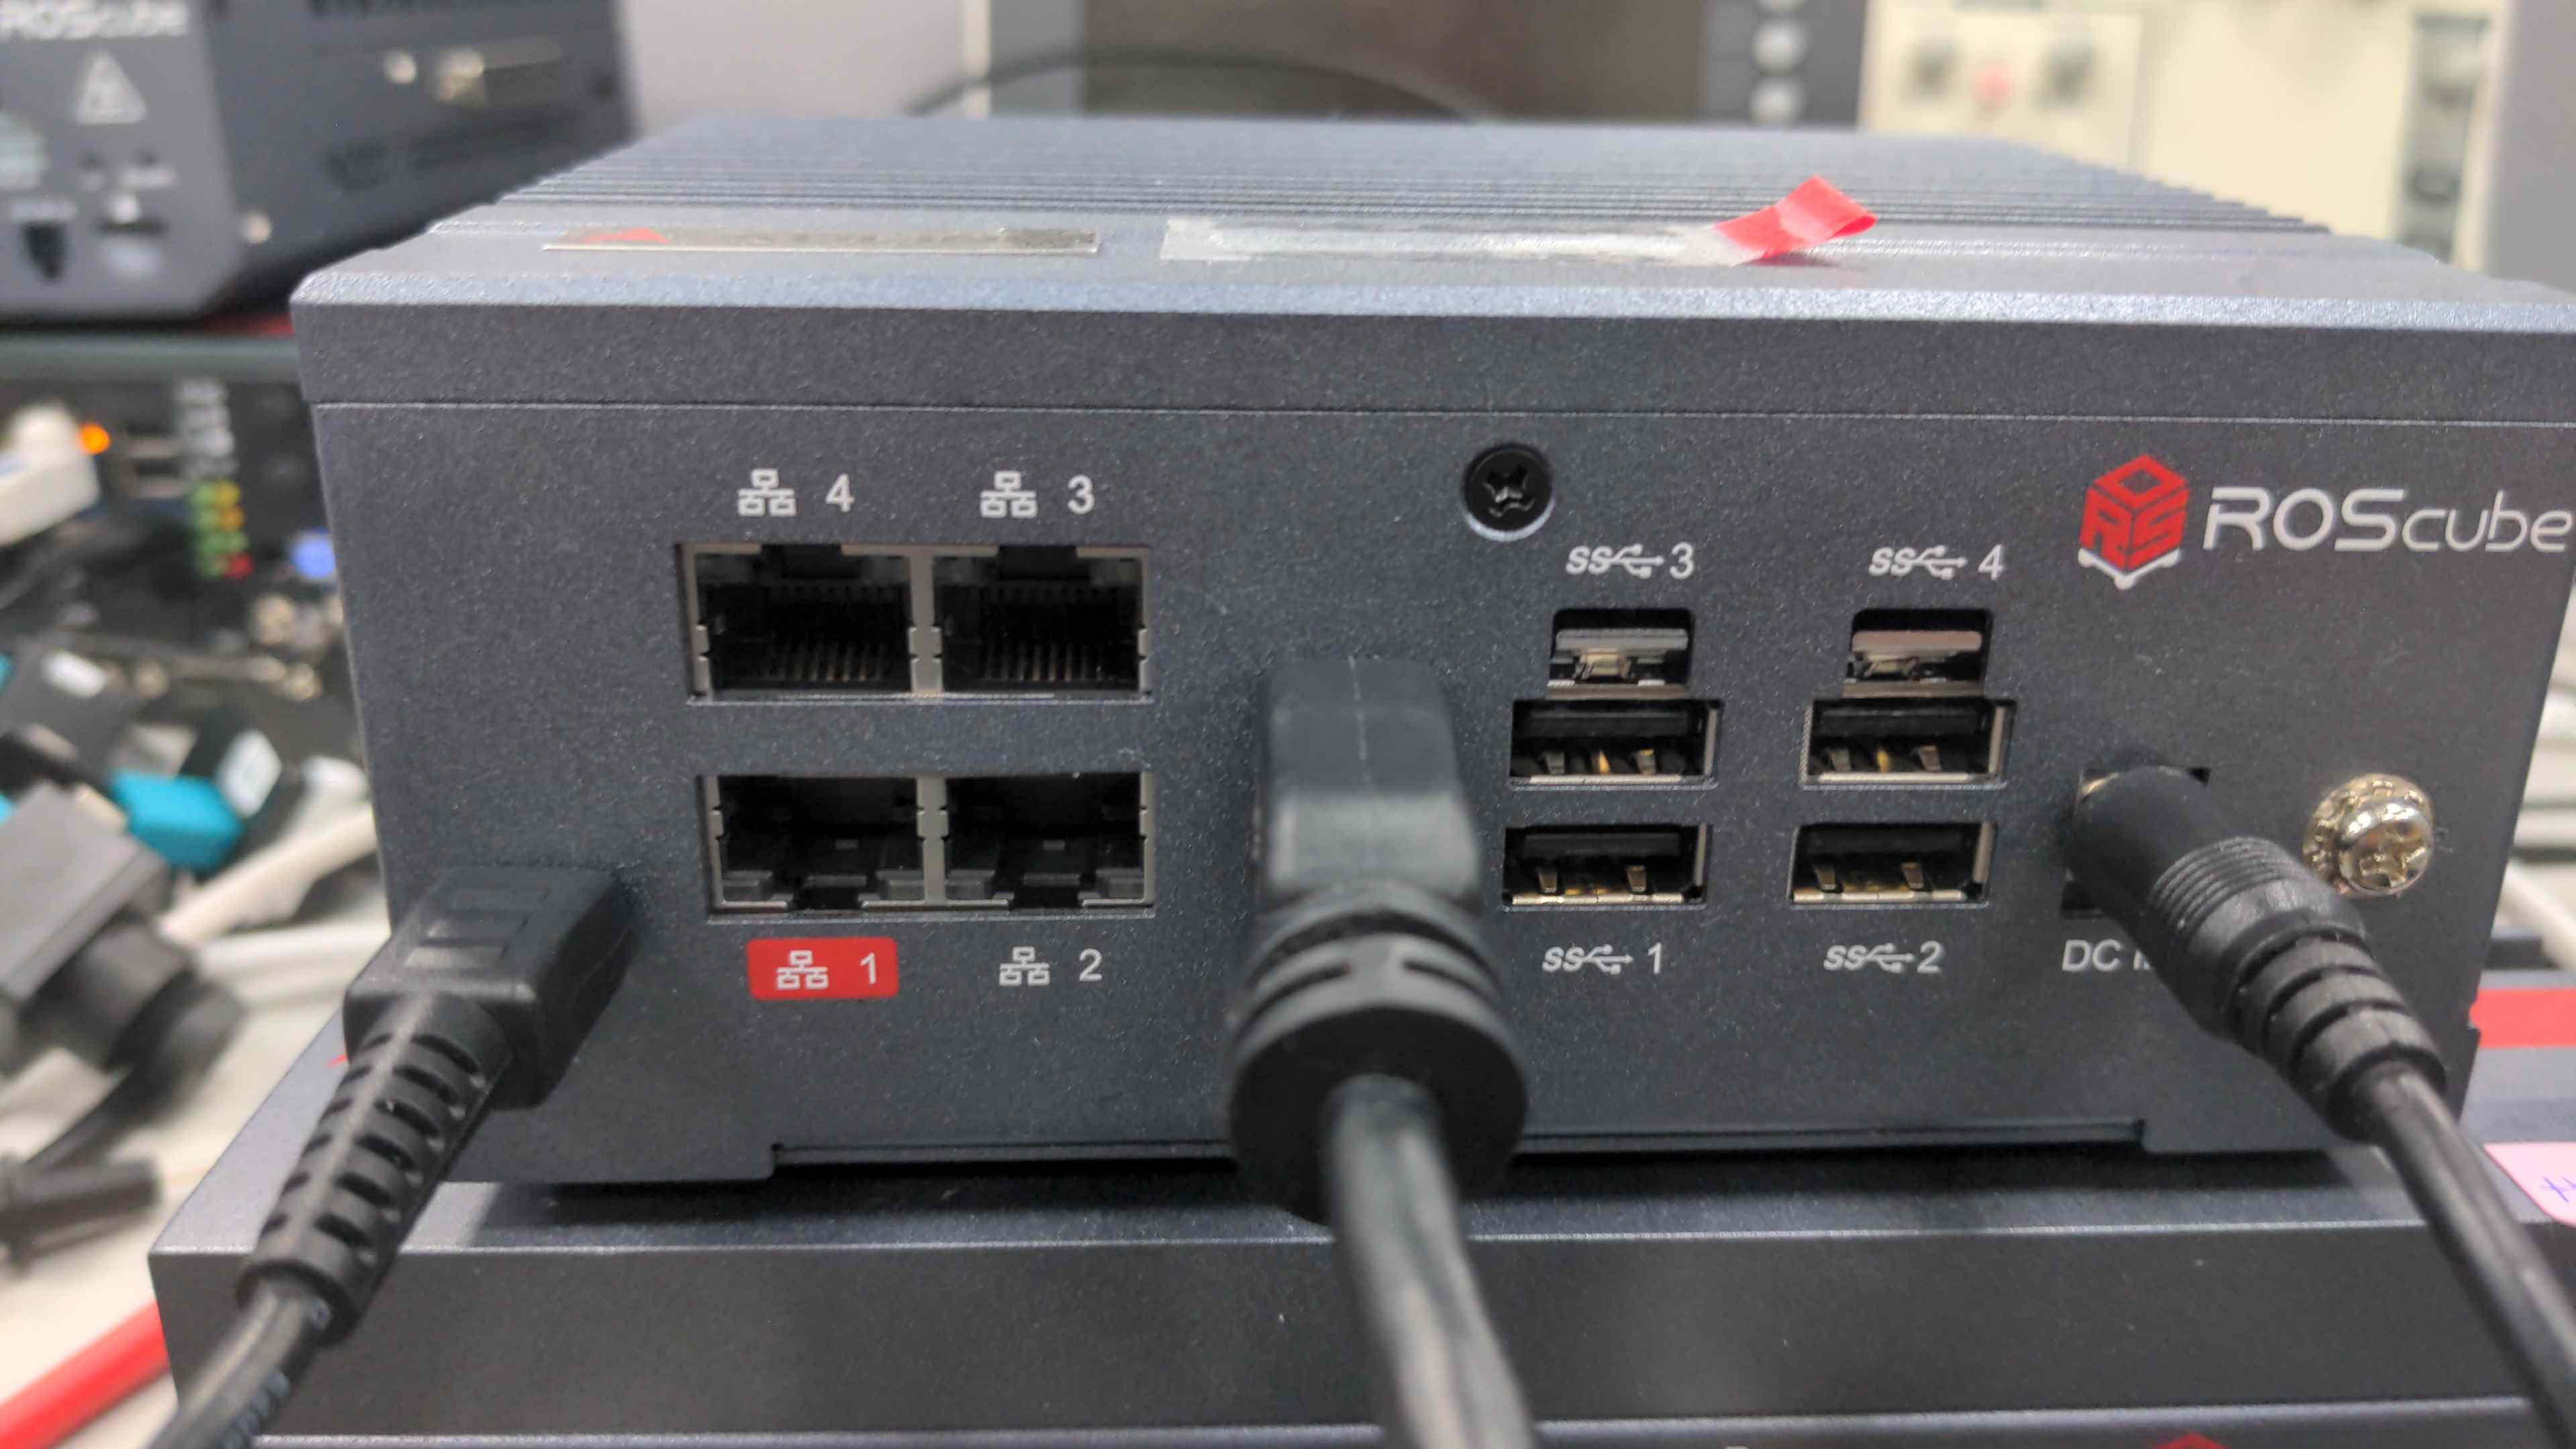
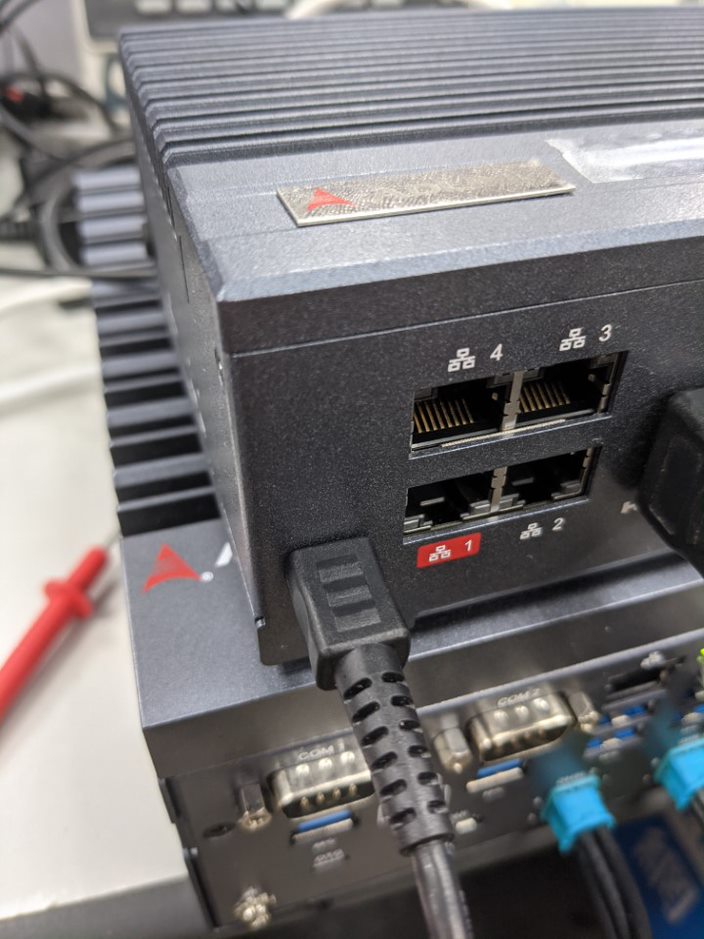
Connect power cable to ROScube Pico.
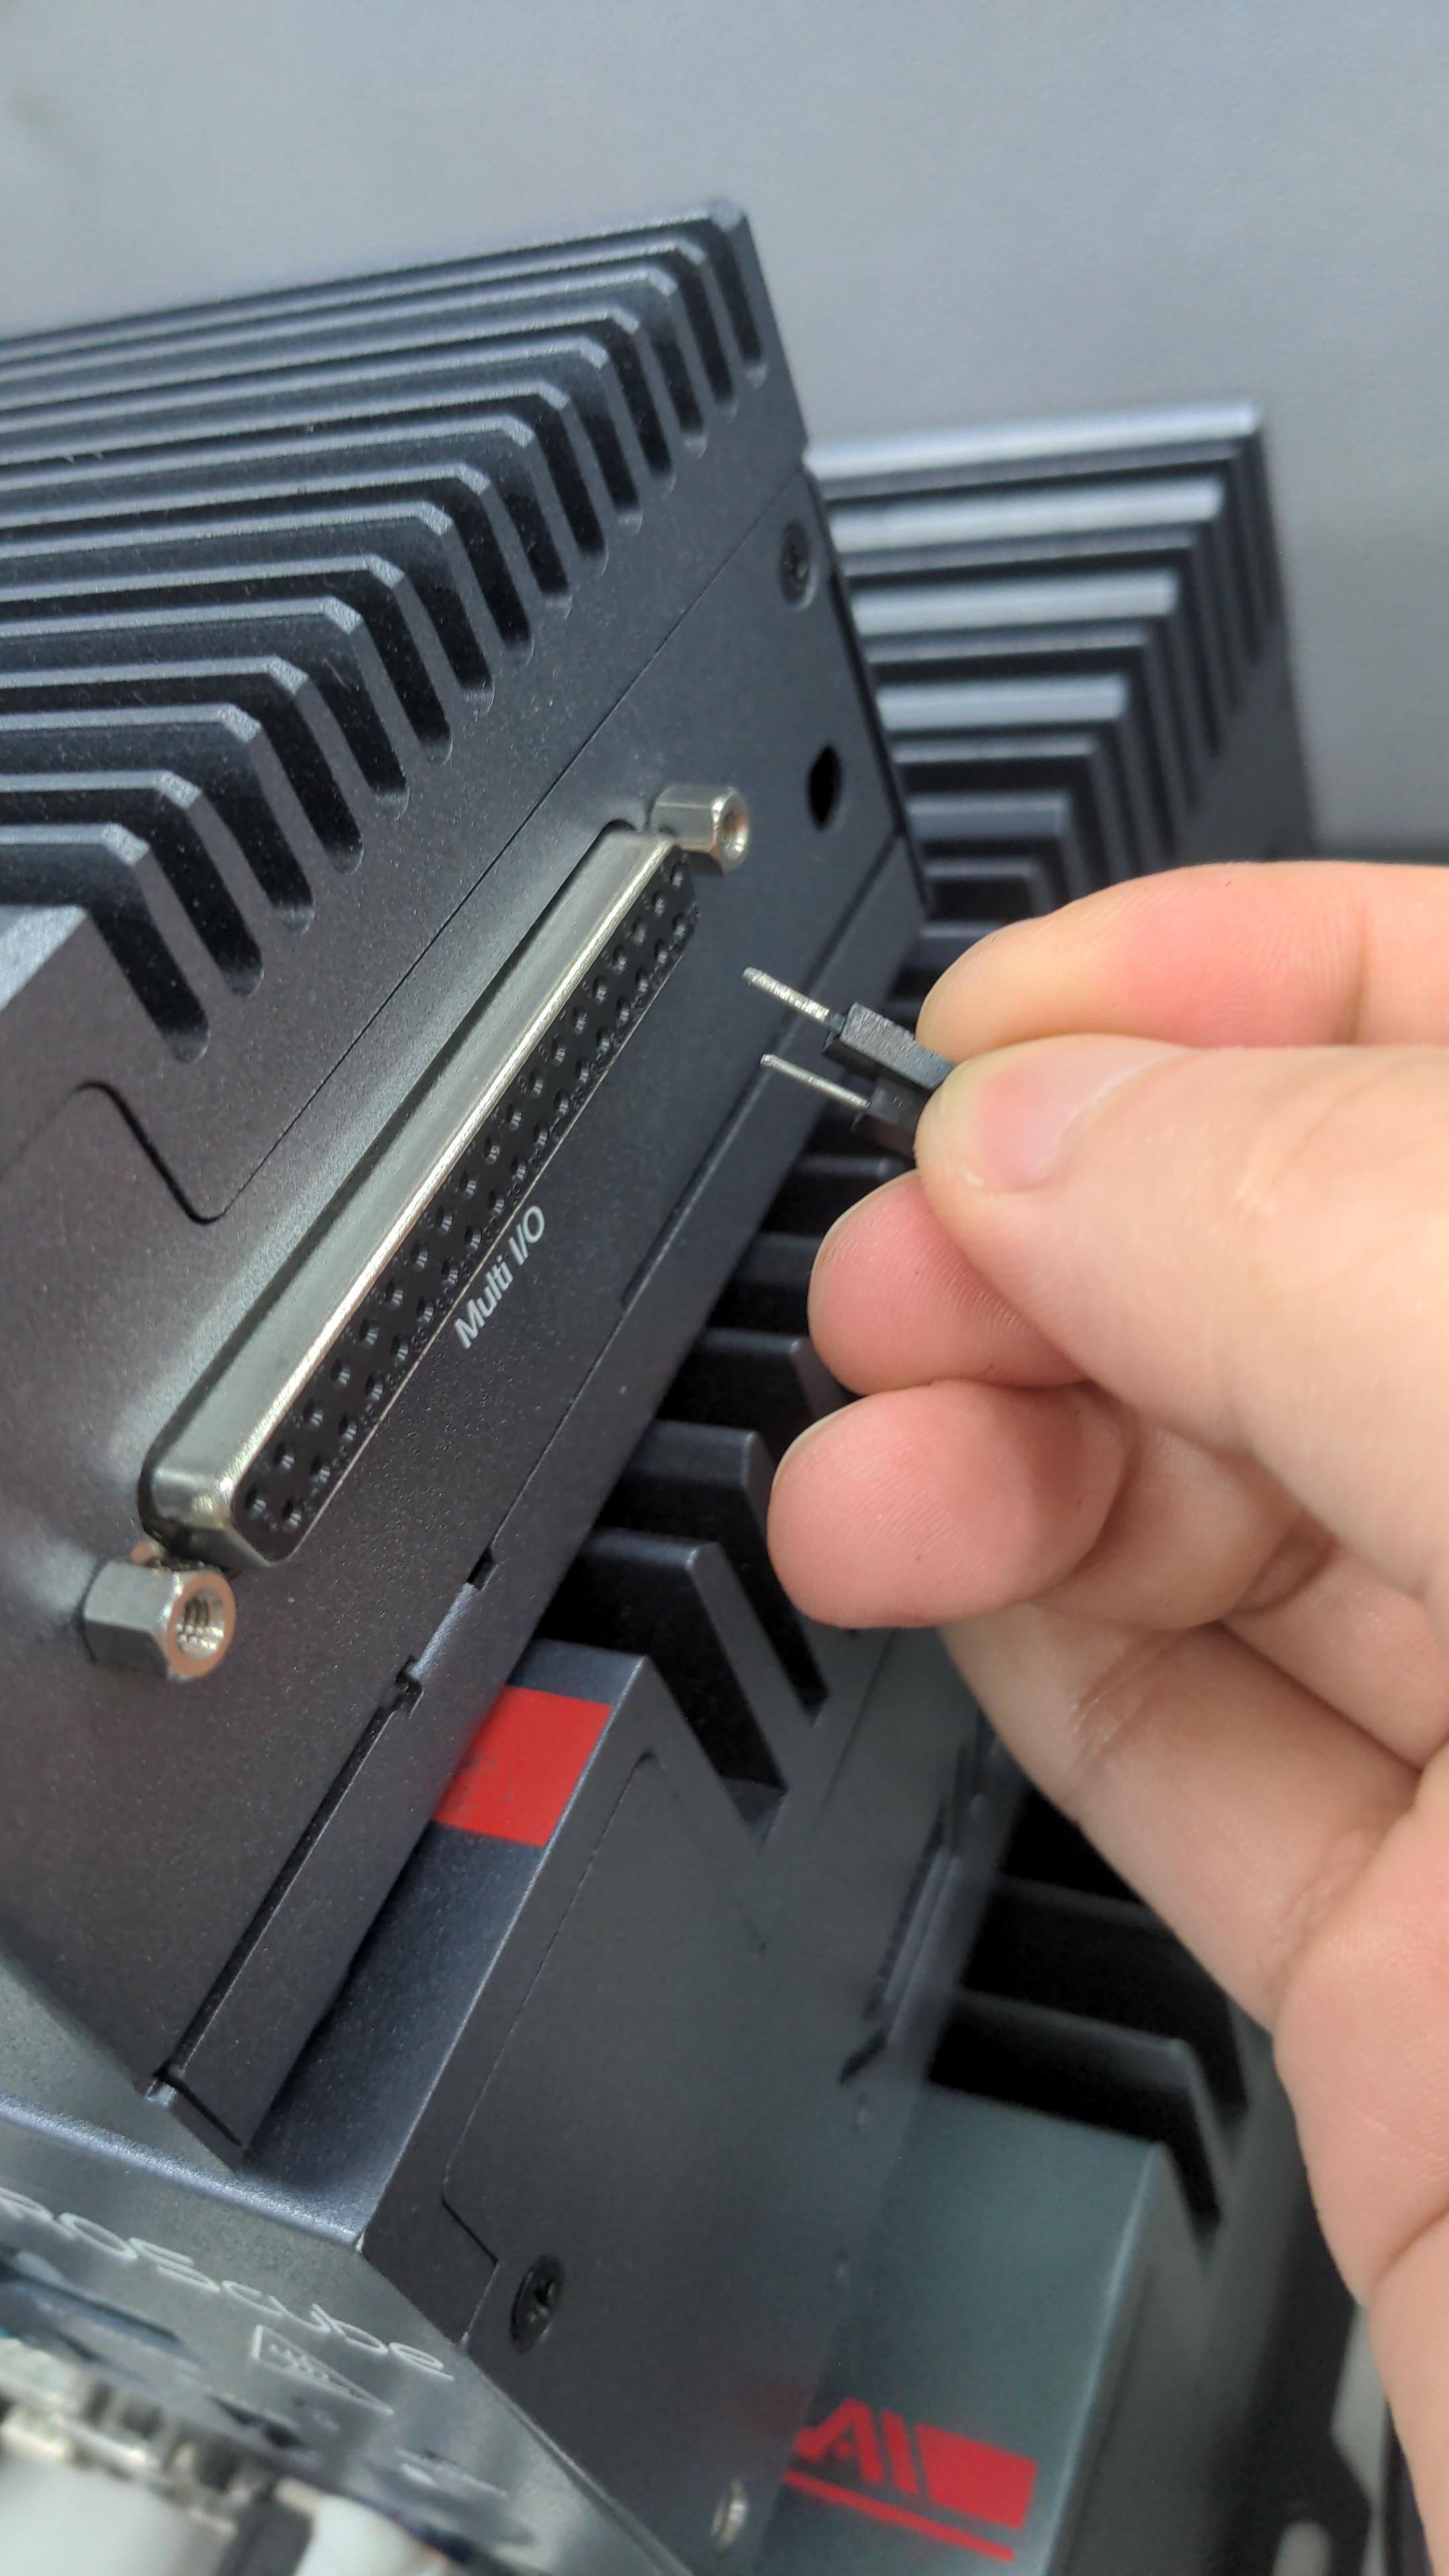
Short Pin 03 and Pin 04 and hold short status.
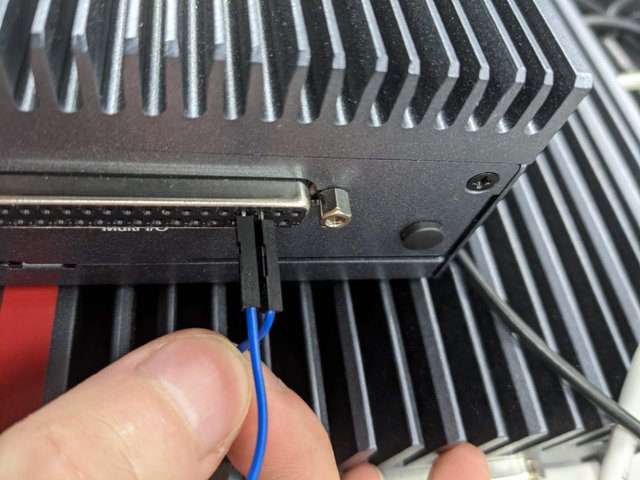
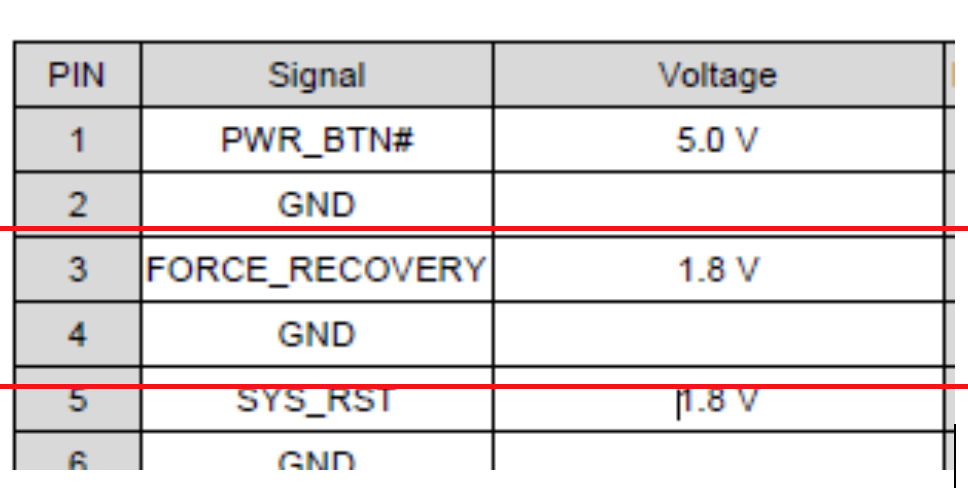
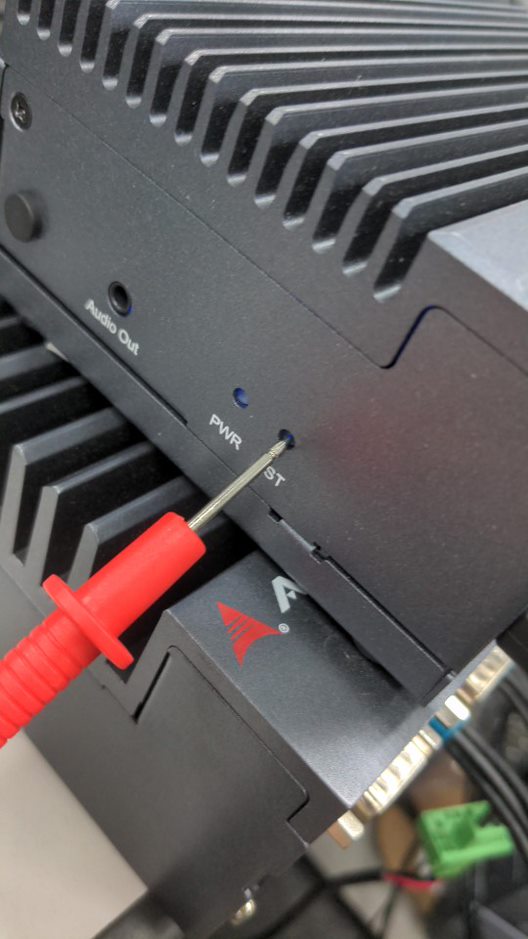
Keep Pin 03 and Pin 04 short status and press Reset button.
Release Short pins and pull out cable !!.
Note
Now ROScube Pico is in recovery mode.

3. Prepare released image on Host PC
Assuming image’s file name is mfi_npn2_3.1.2.tbz2. Un-archive this file first.
tar xvf mfi_npn2_nvidia-sample-rootfs_L4T-32-4-3-Kernel-1-0-6.tbz2
Then, use BSP internal tool, nvmflash.sh to run the flashing procedure. Please make sure your Host PC has attached to ROScube Pico.
cd mfi_npn2
sudo ./nvmflash.sh
Note
You may need to input your host PC’s root password when flashing the image.
Note
The flashing procedure might take 8 ~ 10 minutes.